Saturday, July 10, 2010

Flowers and another fabulous recipe


Today I walked outside and found the first lily blooming. I bought 2 at the Iris Farm this spring. (M-72 5 Miles from Traverse City.) Also its been so hot and humid my hibiscus thinks its in a tropical paradise and its blooming.

Then I went to coffee at our clubhouse where friends meet once a month. The ladies started talking about Beer Biscuits and they sounded so good I came home and tried them. You need a package of biscuit mix,sugar and beer. Use the recipe on the package for regular biscuits but mix 5 tbls of sugar in with the mix and add beer instead of any other liquid called for. Mine took 1 1/2 cups mix, 5 tbls sugar and 1/2 cup beer. They warned not to use lite beer, I used Samuel Adams Boston Lager.

Boy, those biscuit were so good, we sat down to eat leftover chili (from the recipe previously posted) and we ate all 12 biscuits. Do try this recipe, its fabulous. The sugar and beer make the biscuits puffy and really gives them a great texture.

Thursday, July 8, 2010

Not everything turns out as expected....

Tuesday I started my "after the 4th" garden flag. It was going to be a generic-type summer flag, something I could use summer after summer. So Tuesday evening I sat down and started. I thought I'd try something different with the actual flag so I got out my serger manual and learned how to do a rolled hem. Boy, that turned out super, and it was VERY easy to do on my Babylock Evolve. Nothing to it, I had the whole thing hemmed and the casing sewn in. Ready to roll with the embroidery machine!
The first thing one has to do is get the Tweets sewn because they are the biggest part of the design and there's a lot of stitches to them. Also its a bit dense so you have to make sure you have a good stabilizer and hoop it tight. I use a sticky spray behind the flag fabric to help hold the whole thing down flat onto the stabilizer and I baste the area around the design with the help of Embird, my chosen software. So I started. The Tweets take 3 hours to sew out. There's 53,333 stitches in the Gardening Tweets design. No biggie, I sewed until I was tired and then turned off the machine. As long as I didn't move the design area around before I started sewing, I could start again. I marked on my color chart where to start the next day and went to bed. Whoops, I forgot the sticky spray sort of disintegrates over time...my fabric got a bit bubbly as I continued to sew...In spite of it, Wednesday I finished up the tweets.

For the dog in the corner, I added a hat from an Embroidery Library Sunflower Sam design and some daisies from another design I have in my stash. The dog will be running through the daisies under the bird tree, wearing a sun hat. That turned out as expected, it didn't take nearly as long to sew the dog as it did the tweets. Next I sewed 2 butterflies and then the lettering at the top and I was done. The whole design has 84,621 stitches and the machine told me it would take 157 minutes. I really don't know how long it took since yesterday as I was sewing I had to stop and take the dog to the groomers, stop again to pick him up, stop again to eat lunch.....but finally I was finished. I had about 30 minutes before I had to leave for another appointment. I wanted to get the flag out so thought I'd steam it a bit to see if I could straighten out the fabric some.

OH NO....which is not what I actually said....I'll leave that up to your imagination...I turned the iron on and set it at the highest setting so that it would steam. Touched the iron to the fabric and MELTED IT! I was sick!!! My flag was ruined.

I turned the iron off and went to get my hair cut and realized as I was sitting there that I hadn't really ruined any of the embroidery, just the flag fabric. So I came home and cut the design out (hopefully far enough away from the embroidery for a seam). I decided to make a blank flag and sew the embroidered part onto it. Not sure how its going to turn out, maybe the whole thing will be a waste of time but you never know....
Here's the design as its planned out on the computer:


And here's the unfortunate leftovers after melting the fabric:

Later......here's the final flag, not perfect but its outside anyway. Luckily its inside my courtyard and no one can get close to it unless the really want to come in and inspect.

Not too bad, considering.

Wednesday, June 30, 2010

BEST EVER CHILI WITH BEANS


INGREDIENTS:

1 lb ground round
2 15.5 oz cans dark red kidney beans
2-1 lb cans plain diced tomatoes
1 8 oz can tomato sauce
1 pkg sliced fresh carrots
4 ozs water
1 green pepper
1 yellow onion
¼ cup Chardonnay
Salt
Pepper
1 package Carroll Shelby’s Chili Kit
1 package Colby and Monterey Jack Cheese
1 pkg sour cream
OPTIONAL: 1 can beer

DIRECTIONS:
With food processor, chop half large onion and half green pepper and ¼ cup carrots into small pieces, set aside
Brown ground round until all pink is gone
Drain ground round and set aside in bowl (I rinse my ground round in a colander you won’t notice the difference but your waist will, its a trick I learned from a friend who cooked for schools). Don’t rinse fry pan but add previously chopped veggies and cook until onions are clear.

Turn burner down to low and switch to a 4 lb sauce pan. Add tahe ground round.
Sprinkle salt and pepper into meat mixture and stir well.
Add diced tomatoes, tomato sauce and water.
Add half Chili spices from package. Stir and taste, if necessary add some more spices until it tastes the way you prefer your chili to taste (I use the whole pkg).
Sprinkle a little Cayenne pepper from package into pan but careful; don’t use much until you do the taste test.
At this point, add ¼ cup Chardonnay or of course you can use water to make it a little more soupy.
Put lid on pan loosely and simmer until you’re ready to eat.

To serve, put cheese and sour cream in middle of table and let people add if desired.

HINT: If chili is too spicy or too thick for your guests pour a little beer (or water) into it, simmer just a bit and it will be just right Leftovers are fabulous over brats, smoked sausages or franks.

Tuesday, June 29, 2010

I forgot my latest FINISHED HK project


The Booga Bag! As I was sorting through stuff in the garage and closets for the garage sale, I found some handspun yarn that I had made and thought wasn't all that great. I never like my handspun yarn until I haven't seen it for a while and then when I find it again I love it. What happened during the garage sale search was, I put the yarn into balls and found freebie patterns that I thought might be a suggestion of what people could do with the yarn and packaged each different yarn up with a printed pattern. Well---ended up as I was searching for suggestions I loved everything I came up with and ended up keeping all the packages of yarn with the patterns I printed. YIKES! Yet more project(s)for my ever-growing list!!!!

While I was sitting in the garage during the garage sale I started knitting my pink yarn. I decided to make a Booga Bag and was afraid the yarn was too thin (it probably wasn't). I didn't want to take the time to measure it with the wraps per inch method so just doubled pink and white yarn together and started knitting with size 11 needles. I figured if it came out too big, so what, I'd have a big purse. Well, I did have a big purse when it was done. It was a bit thick as I knitted it and I was really a bit worried that it was too thick to felt but threw it in the washer and ran it through 3 cycles. Son of a gun, I love the purse. Its big enough to be a knitting bag if I want or of course, a bag for everything I own when I go someplace. I found some pink and white fabric in my stash and lined it so that nothing will poke through, just in case I stick something that could possibly poke through the felt...and my Booga Bag was done. I'm thinking I'll dig out my new book, "Felt It!Stitch It!Fabulous!" (30 new uses for old sweaters) and try a couple of the flowers they needle felted or maybe knit some fabric and felt-then cut into flowers per the directions to decorate the purse.

By the way, if you haven't see this book, look it up. The author suggests you go to Goodwill and Consignment shops and buy wool sweaters and comes up with some fabulous ideas for the felted garments. Personally I'm thinking I can knit fabric on the LK 150 with all the handspun yarn and then make what's in the book....(more projects...the ideas just keep on coming).


So there you have it, what I've been doing since Spring.

OK, so I've neglected my blog

So much going on. I've traveled a bit, am busy exploring the surroundings in the Traverse City area and otherwise have occupied my time since Spring arrived. OK, now its summer and a nice fairly cool one. I've got bird feeders to fill, flowers to plant and take care of, tons of weeds thanks to the bird feeders and other things to keep me busy but I haven't forgotten my fiber addiction.

I'm still hand knitting the circle sweater from Berroco. I'm nearly finished with the body which is a huge circle, getting smaller and smaller as I get to the center. Then I have 2 sleeves to make and I'm done. Yaaay! I've been knitting it since before I sold my house in SC, The sweater is named Nigella and I love it still but wish it was finished. Its made with Berroco's Touche' which is a cotton/rayon blend and should be great for even now on cool mornings and evenings.......why can't I get with it??? Here's a picture of Nigella:

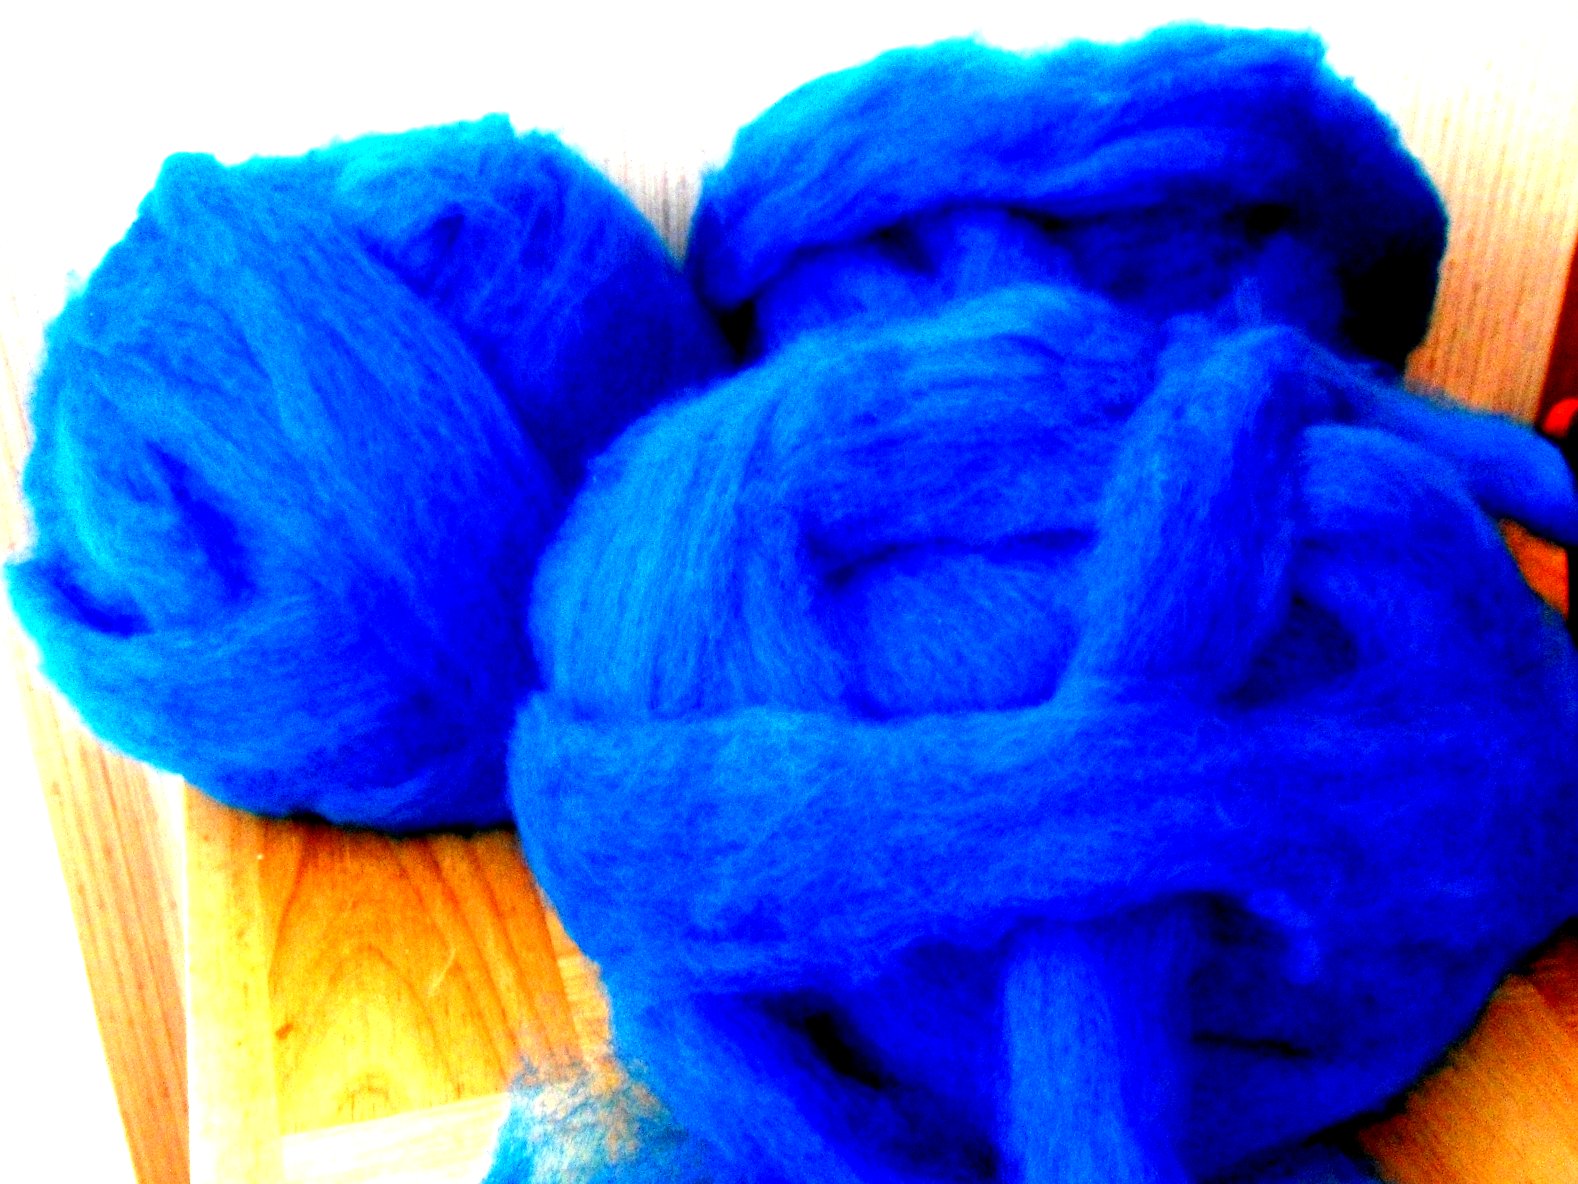
A couple months ago I traveled to Pontiac, MI with a friend to meet his sister and while on the road, we stopped at Frankenmuth, MI to visit Zeilinger Wool Co. I heard about Zeilinger's back in Asheville, NC when they came to the fiber fest every October to pick up fleece to take back to MI to process for people. I ended up bringing home fleece from Zeilinger's (naturally)...2 lbs of Alpaca to spin. Its yummy stuff and spins up soooo nice. Its soft and wonderful..here's a picture of the fleece and my sample spun up..I am planning a soft, warm jacket with the finished project, probably I'll make it on the LK 150 so that it can be made in a week instead of a year... While I was in Frankenmuth I picked up a Spin Off magazine and saw an ad for a wool processor in East Jordan, MI, Stonehedge Fiber Mill. Wait a minute---I had seen that ad before so I looked it up on Google. Son of a gun, East Jordan isn't all that far from Traverse City so one Saturday morning my friend and I took off for East Jordan. Down the lane (a long lane) we found a 100 yr old farm where the owner has spinning machines and processes wool. Her wool, Shepherd's Wool is beautiful stuff. I've bought it from the local yarn shop here in TC last Fall for felted hats and was very impressed at how nicely it felts. Anyway, I went into her little building full of all colors of yarn (why didn't I take pictures of that???) and found mill ends. Yarn that is almost perfectly spun by machine but maybe has a little slub in it or maybe its not quite the right color. (she dyes her yarn as well). She sells Shepherd's Wool to yarn shops all over the country and its featured in magazines. While I was there 2 more women came in to shop...I'm not the only one who travels that long lane. While there I bought a pattern for a colorful helmet hat, featuring her yarn and then bought the mill ends to go with the pattern. That, I gave to my DIL but there's enough ends for both of us to make more than 1 helmet hat (or whatever we want to make). I also got myself a lb of beautiful merino. SOOOO soft and luscious, here's a picture of that wonderful stuff: I also picked up a pattern featuring Shepherd's Wool, called Noni, a laptop bag with power cord pockets. Love the pattern and will probably dye some of my white (unknown origin) fleece and spin/knit the bag.

Also on my agenda is writing the pattern for my beaded bag, made on the LK 150. I have the pattern written but want to "perfect" it by making it one more time and then will get that posted. Shame on me for neglecting all this stuff for so long but what fun I'm having in my new life...........( my excuse and I'm sticking with it).

So you can see I have lots of projects going on and need to spend more time at home working on them....easier said than done.

Sunday, April 4, 2010

Spring has arrived in the Northern Lower Peninsula

Well, last week it looked like spring, today it looks like almost-spring but the daffodils are up and it was actually hot out Friday. Today we are expecting rain but that's OK.
I spent Friday planting bushes along the wall next to my house. There was one lonely rose bush living there and that's it! So I moved the rose bush and planted 6 spreading yews. Also had a patio in the back of my courtyard that was pretty sad. It was brick and the bricks were all askew from the winters over the past few years so I had the bricks taken up and a wooden deck built. Unfortunately either the guy building the deck didn't buy enough wood or was trying to leave a place for water to drain between the deck and the brick wall behind it and left left about 18 inches. I hated how that looked and a friend suggested we take the bricks and lay them in that 18 inches. Mike (my son) came over and laid the bricks for me. NOW I have a nice deck, I won't fall off the back end of it thanks to the bricks and I'm a happy camper. There's more work to be done with the yard but at least it has a start.
The first picture is a view of my courtyard from the front, my house is on the right and is bordered by the brick wall on the back and neighbor's house on the left.


The second picture shows courtyard from the back (view from the patio).


I still have work to do on this side of the yard but not sure what I want to do with it. All it takes is money and time.

Sunday, March 7, 2010

Biscuit's New Coat


I've been putting both a sweater and a coat on Biscuit every morning when we walk because its been down in the teens here in the mornings and he's very low to the ground & doesn't have a lot of hair on his tummy. Last time I went to JoAnn Fabrics I found a really pretty piece of fleece. It looks like tie dye and is a great shade of blue, perfect for a boy. So I brought the fleece home with the idea that I would make Biscuit a warmer coat and eliminate the sweater/coat deal (he hates it when I dress him so at least I will only have to put one thing on now). Well of course its warmed up this week so the coat may sit in the closet all summer but that's ok. When its down around 14 degrees out and maybe he will be warmer and not mind me dressing him.

Every jacket he has is either too big or so small I can't fasten it around his belly so I took the jacket that is a little too large and I used it for a pattern. On lots of the sewing web sites the seasoned seamstresses talk about using "sewer paper". That's "sewer" as in toilets and waste water. I went to Lowes and bought the sewer paper several years ago and for around $20 you get a lifetime supply, especially lifetime if you sew as little as I do. Its very similar to Do Sew that fabric stores sell. You can trace a pattern on it, baste it and use it for your pattern. So I traced the larger jacket onto the sewer paper and then tried it on him before I cut out the fabric. Every step of the way I tried the jacket on him until I thought he would bite me if I tried it one more time. The result is a coat that will keep him warm, especially his belly and fits him with room to grow when I leave his hair longer for warmth in the winter.

I bought some sherpa at JoAnnfabric.com and lined the belt with it and I made the belt a little wider than the store-bought jackets so that more of his belly will be covered. Then I bought an embroidery design of a doggie bone at emblibrary.com and made a pocket just for the embroidery design. I quilted the top layer of fabric with cotton batting under it and then used more of the blue fleece for lining so its 3 layers. Every step of the way I tried it on him.

I love how it turned out so much that I think I'll make him some more jackets, the fabric store has all sorts of cute doggie-coat-fabrics I can use and I do think he could use a nice rain coat as well since spring is traditionally rainy. I'm thinking I'll make the raincoat next while I remember how I made this one. (probably would be a good idea to write down what I did but knowing me, I won't.

One thing I learned while sewing this fleece. I have a presser foot that is called a "zigzag" foot. It has a plastic insert between the 2 feet and eliminated the problem of fleece curling up and getting caught in the needle. It sure did make the sewing easier. Another thing I did was switch from a regular sewing machine needle to a Jeans needle. I was having a lot of trouble with the thread breaking and the Jeans needle eliminated that annoying problem.

I also remembered from my knitting/fleece days that a longer stitch works better with fleece but when I did the quilting I did use the default stitch length. Sewing fleece onto the batting and quilting it with batting was easy, it was the sewing fleece on fleece that was troublesome without the zigzag foot and jeans needle. (now if I remember these things....)