
These gems are easy to make and you're friends will love you if you make them a dozen for Christmas. Tie a bow around them and give them to everyone.
Machine: Standard Gauge, I used Brother 970
Material: 100% cotton, I've found people like the natural color or white so they can bleach them if necessary. Use 1 strand 8/2 cotton or 2 strands 16/2 (available from weaving shops). I usually buy 2 cones rather than try to wind off this thin stuff. It just makes life easier.
WASHCLOTH DIRECTIONS:
These are knitted using the tuck buttons as well as the slip buttons at the beginning and end of the cloth to create a pattern.
You don't have to change the pattern row count as you push in the different buttons.
You don't have to change the pattern row count as you push in the different buttons.
Machine tension loose, I used 8 on my Brother 970 carriage and a medium antenna tension
Pattern: xoxoxo
oxoxox (x is tuck (or black), o is plain (or white)
Hang cast on rag on its bound off edge directly on 80 needles. Place weighted bar in the hem. NOTE: You don't have to use a cast on rag but I just find it easy.
If you used a cast on rag, knit across with ravel cord then crochet cast on or e-wrap cast on with your washcloth cotton. (If these are for me I e-wrap cast on, if I make them to sell or give as a gift I do crochet cast on so that the cast on and bind off look the same).
Set up machine for 1x1 tuck stitch shown above
Turn on KC button and knit across. Every other needle should be selected.
Push in both tuck buttons and continue knitting for 17 rows (total 18 rows counting 1st row)
About this time I add claw weights to each edge to make sure the edge stitches knit off properly.
Push in slip buttons and continue knitting for 10 rows
Push in tuck buttons and continue knitting for 162 more rows (total 172 rows)
Push in slip buttons and continue knitting for 10 rows (Total 182 rows)
Push in tuck buttons and knit for 17 rows, ending on left. (total 199 rows)
Turn off KC button and knit 1 row to the right. Latch tool bind off.
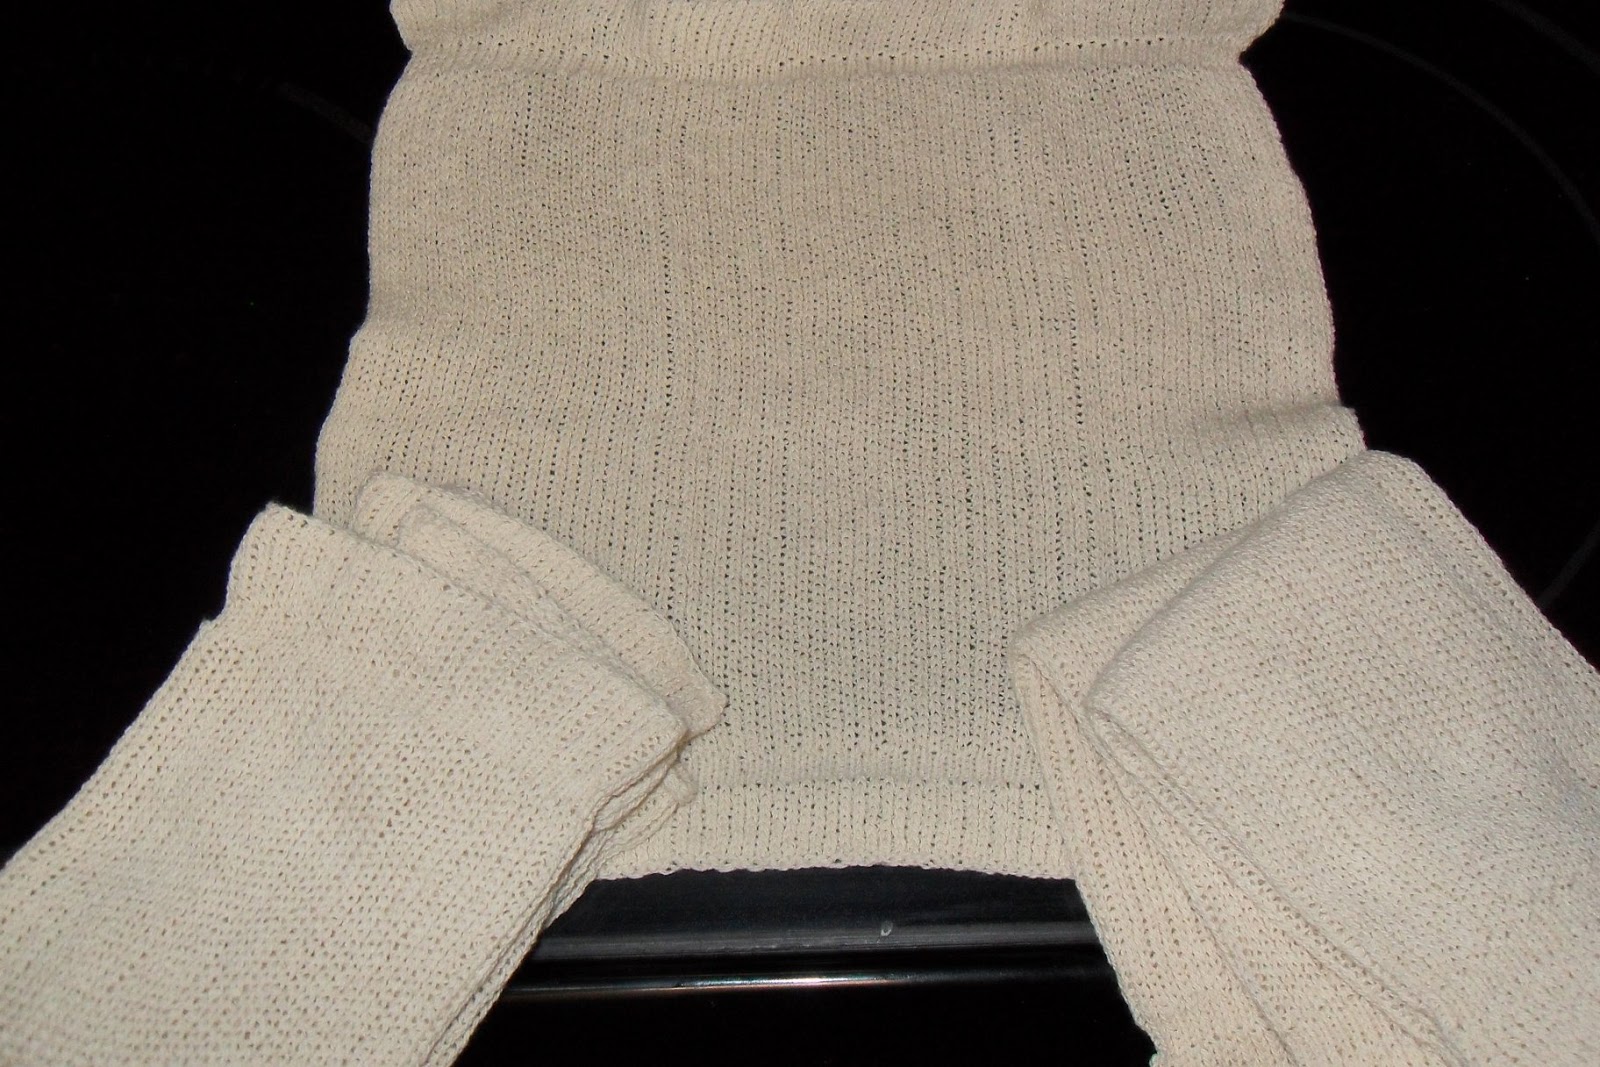
Washcloths will be loosely knit but shrink when washed.
Wash and dry your washcloths and steam them if you wish fold them and they're ready to give to friends.


